
Acorns
Acorns
**This post is part of our Wild & Edible series, where we showcase various wild and edible plants in San Diego and their uses.**
Our Wild & Edible series showcases different wild and edible plants in the San Diego region. The purpose of this section is to educate the masses about our native plants and their uses. We feel it is important to have this knowledge in case you are ever stuck in a sticky situation, such as being lost on a hike and need to forage in order to survive. It also helps re-connect us to the land, which thanks to technology, most of us are being pulled further and further away.
Native plants may grow on your own property, or a friend’s property, in which case it is completely legal to harvest from. Plant nurseries often have a native plant section as well, in which case you can purchase your own plants! Otherwise, wild harvesting is considered illegal in most places in San Diego. Learn your plants and grow your wisdom! Wisdom is power, afterall.
Every plant growing in the wild has either an edible or medicinal purpose. When you realize this, an entire world of opportunity opens up all around you. It is our mission to slowly cover the plants growing wild in San Diego and learn about their uses. This article will discuss acorns!
Acorns are the nut of the oak tree. We have several varieties of oak trees in San Diego and each tree produces it’s own unique variety of acorn. Acorns take between 6 and 24 months (depending on the species) to mature so it is best to gather from nuts that have already fallen. Black oaks were the most popular among the local natives due to their size and flavor.
Acorns were an important part of the Native American’s diet. Not only are they high in protein, but also complex carbs and fats. They also store well which gave them the opportunity to gather large amounts for extended periods of time.
Many animals rely on acorns as an important part of their diet, but other animals (humans included) cannot digest them raw due to the tannins. Tannins are a chemical found in raw acorns that can cause severe digestive problems which is why it is crucial to leach out the tannins before consuming.
Fascinatingly enough, some animals such as jays and squirrels, stash their acorns away & wait to consume them once sufficient groundwater has percolated through them to leach out the tannins.
Float Test
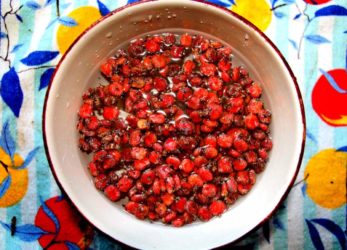
Before doing anything with the acorns, you must first determine which ones are good to use and which ones need to be tossed. This can be done with a simple float test in water. If the acorn sinks, it’s good to use. If it floats, toss it.
How to Open the Acorn
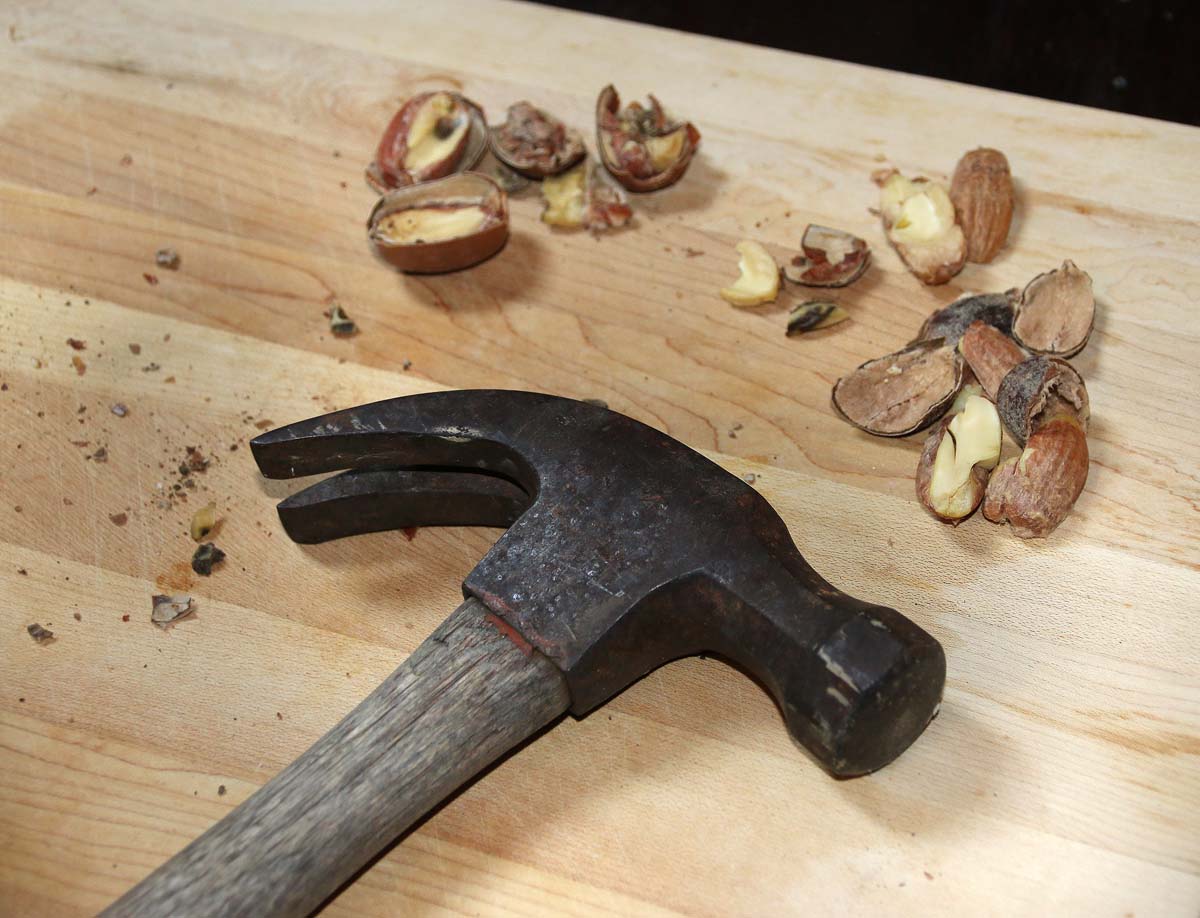
There are different ways to crack a nut shell. If you don’t have an actual nutcracker, you can crack it with a hammer or even a large rock. Look out for any rotting inside the nut once cracked. Rotten nuts obviously cannot be used.
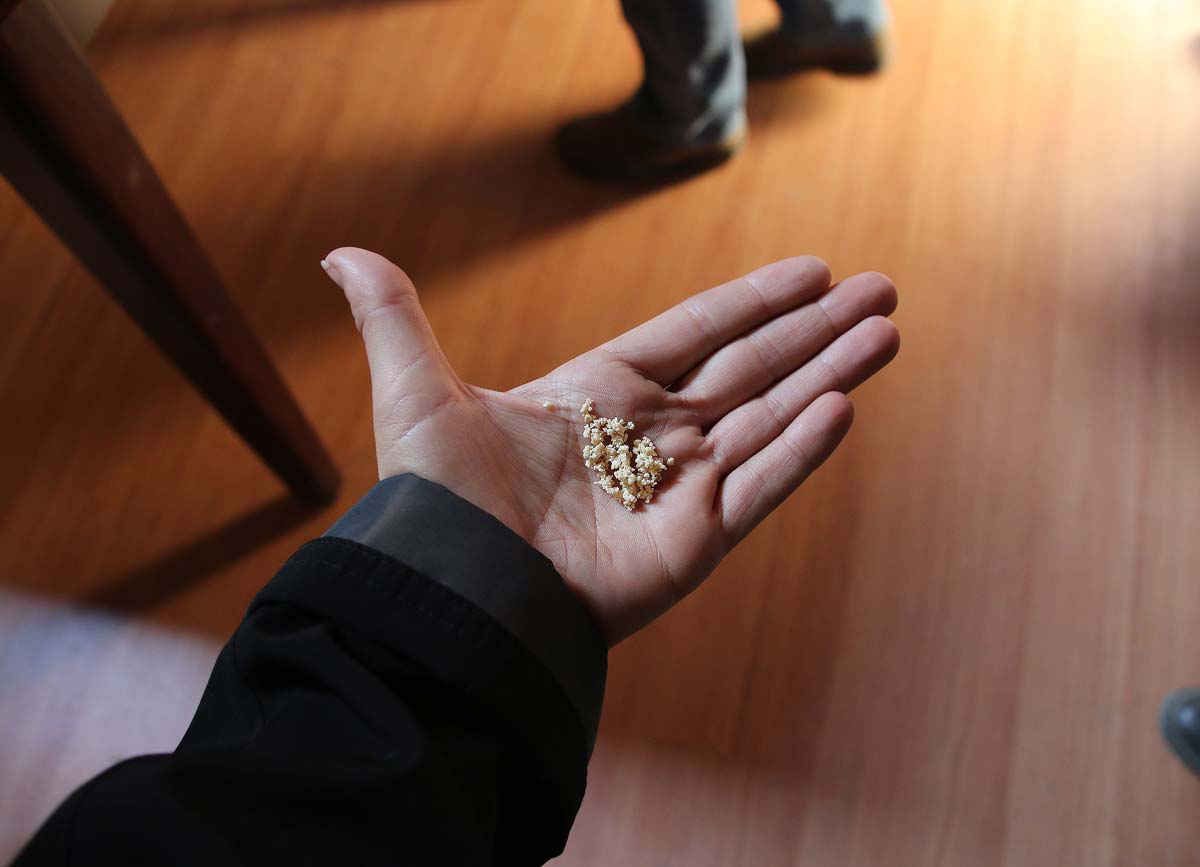
You will have to grind the acorn in either a manual grinder, coffee grinder or if you want to work primitively, with a mortar and pestle.
How to Remove Toxic Tannins from Acorns
Cold Water Method: Tannins can be removed by soaking chopped acorns in several changes of water, until the water no longer turns brown. Cold water leaching takes several days to do.
Hot Water Method: Hot water leaching is a much quicker method which requires three to four changes of boiling water. This process can be done in under an hour. Boiling cooks the starch of the acorn, which would otherwise act like gluten in flour, helping it bind to itself. For this reason, if the acorns will be used to make flour, cold water leaching is preferred.
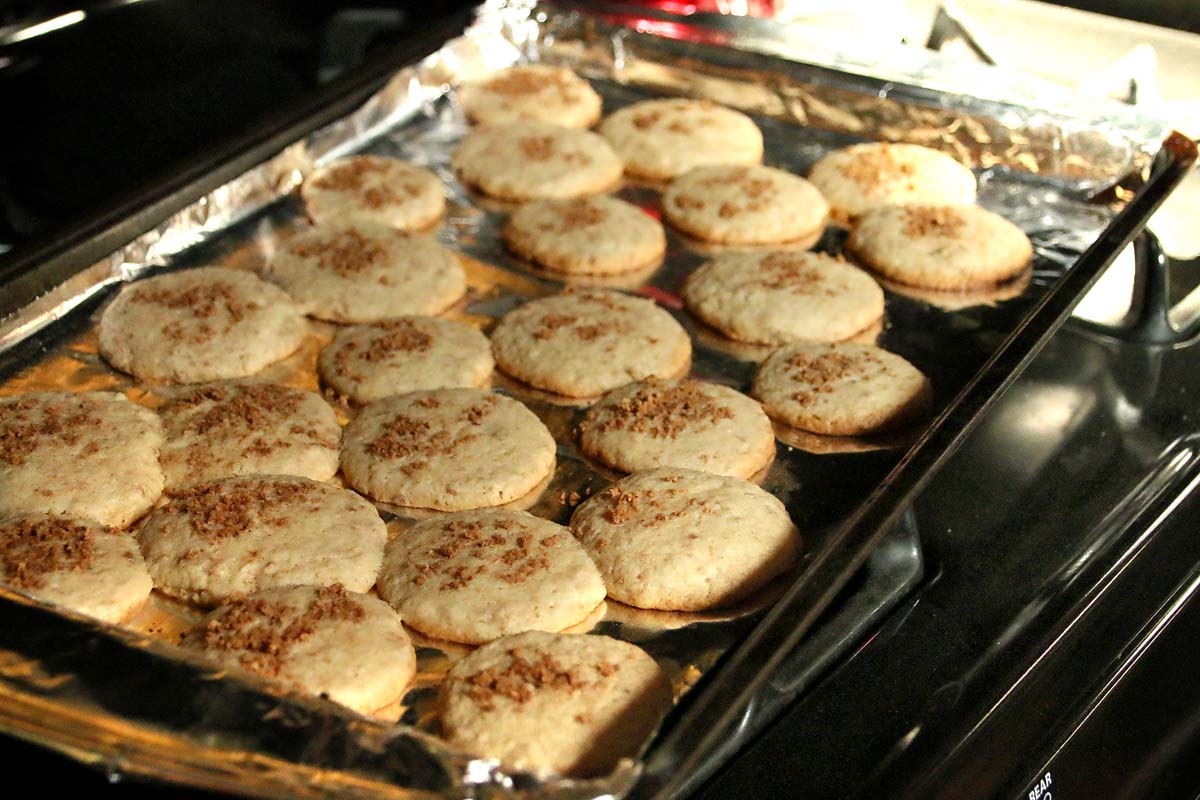
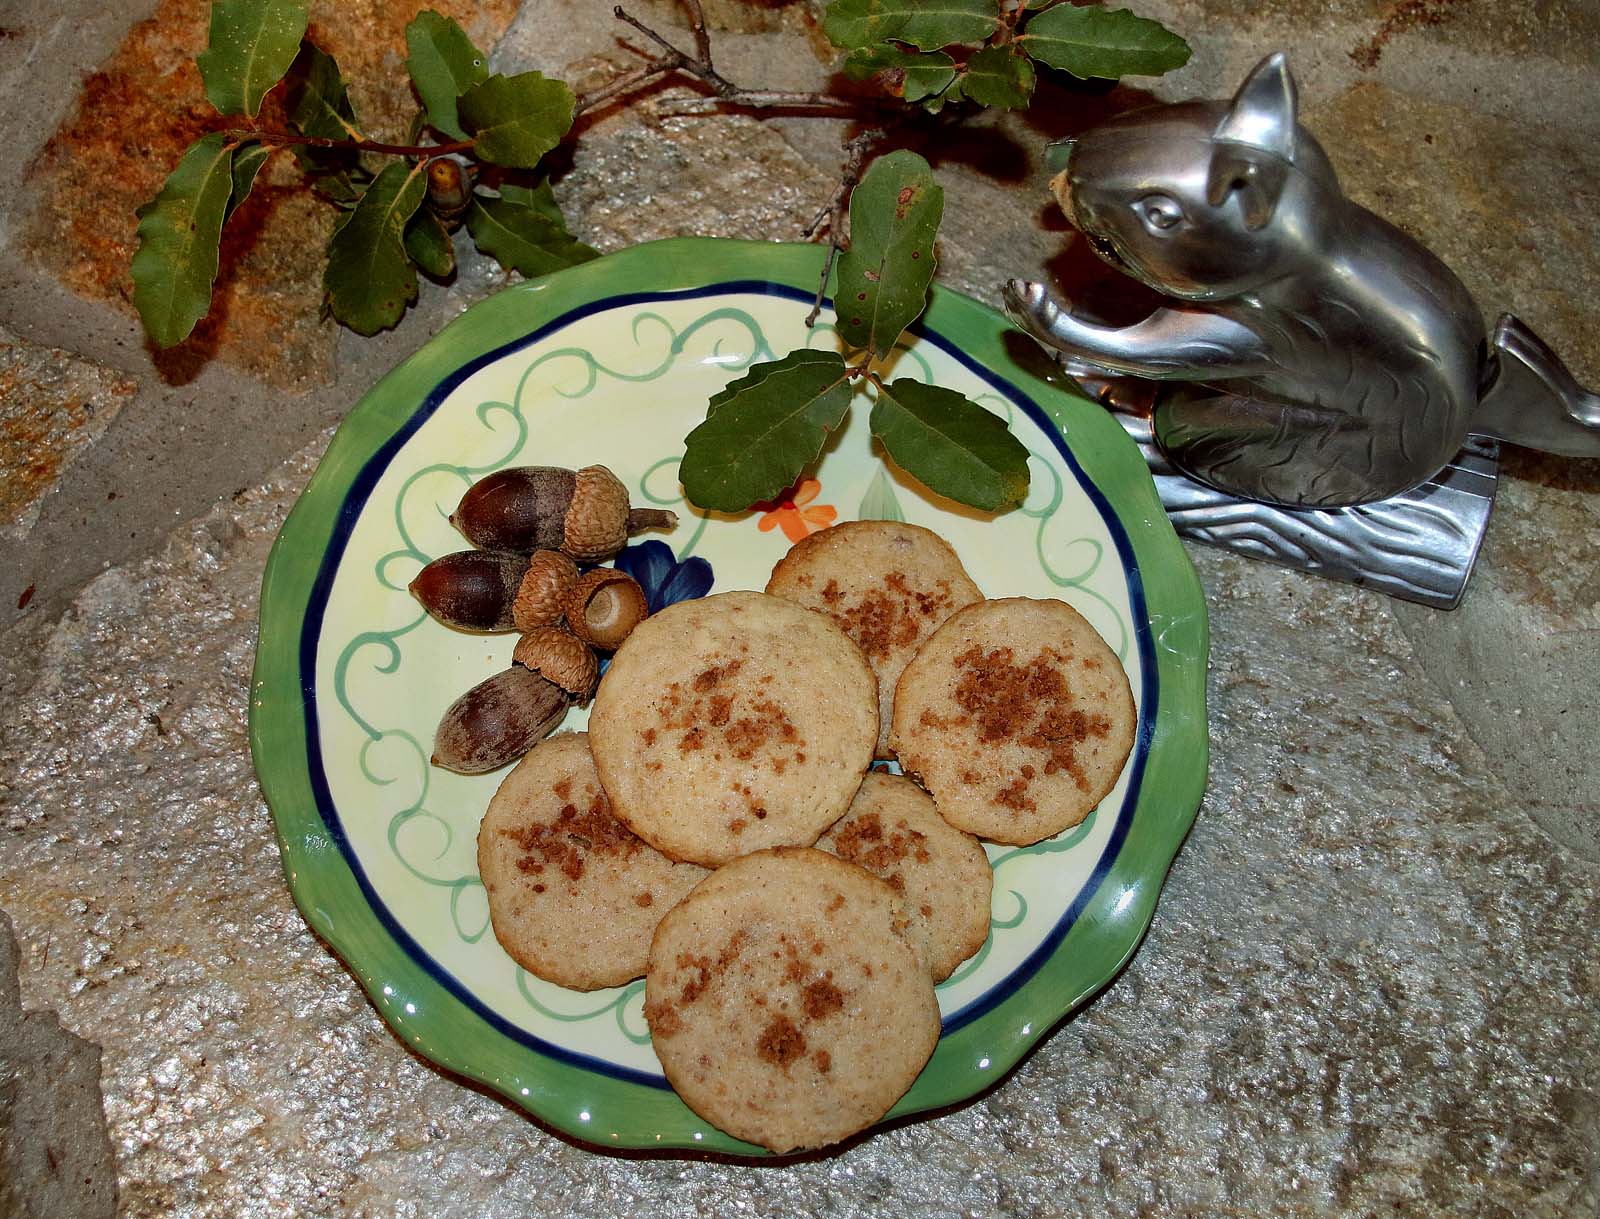
Here is the recipe we used to make acorn cookies:
Acorn Flour Cookies
1 stick of butter, unsalted, softened
3/4 cup brown sugar
3/4 cup white sugar
1 egg
1 cup and 2 Tbsp. acorn flour
1 cup and 2 Tbsp. all-purpose flour
1 teaspoon baking soda
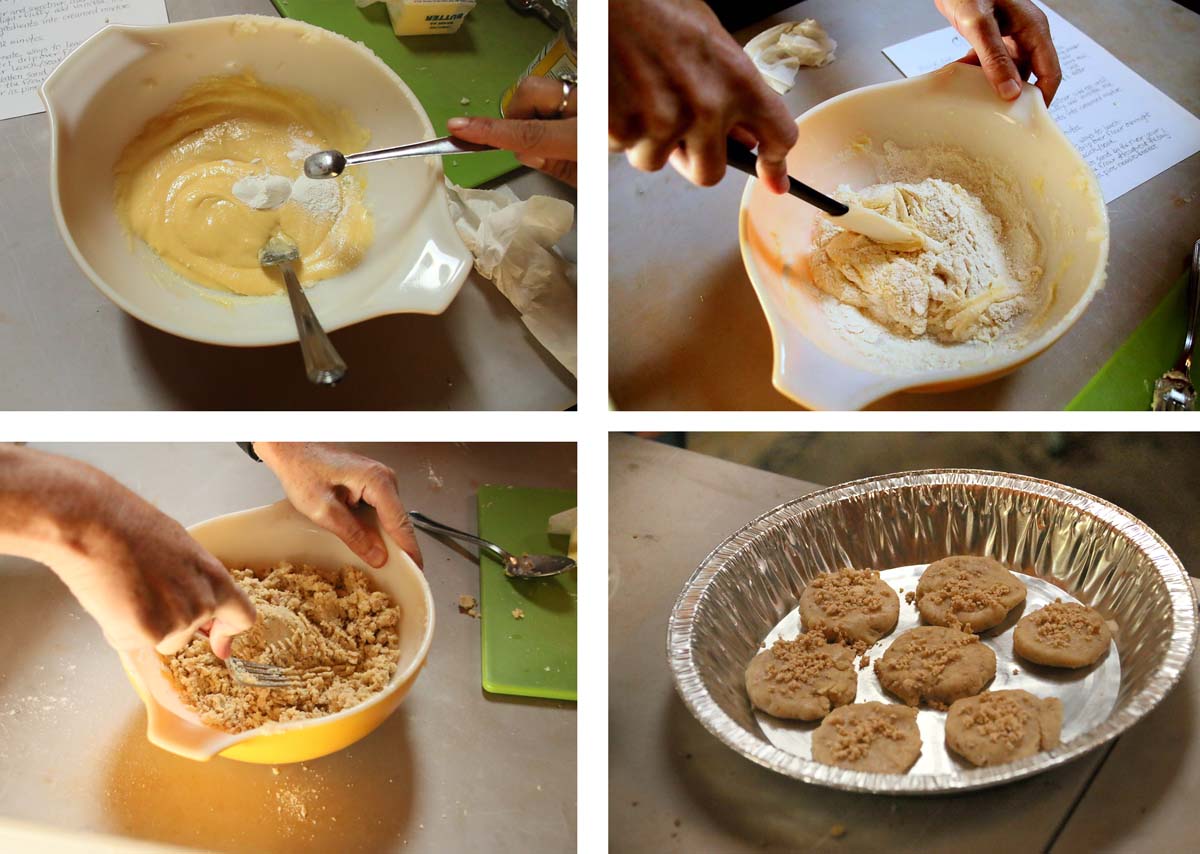
1. Cream butter. Add sugars and beat until fluffy. Add egg and mix.
2. Mix in baking soda and flours until batter comes together. It will be dark because of the acorn flour.
3. Mix in chocolate chips by hand instead of with beaters, because batter is thick.
4. Drop in teaspoons onto a non-stick or greased baking sheet. Bake at 375 degrees for eight minutes.
5. Take out of oven, and let rest on the baking sheet for five minutes before using a spatula to place the cookies on a cooling rack.
They were delicious! It was so exciting to know we created something using an ancient ingredient that the earliest settlers in our city once heavily relied on in their meals. Try it out!